 |
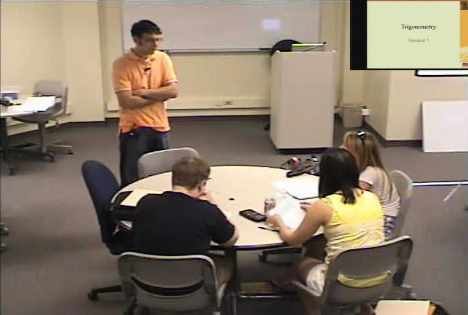
In this video the teacher initates a discussion about worksheet 1 and angle measure (click for more details).
The students initially are unsure what the problem is asking for. When the notion of angle is brought up by one of the students, the teacher focuses the discussion on what an angle is. The teacher is creating need for a common definition of an angle. He is using questioning to engage students about how the cannons can be compared.
He also draws a diagram the students can use to help explain what they mean by angle. This may be a necessary move as the students may believe they already know what an angle is and may not see the point of the questioning.
|
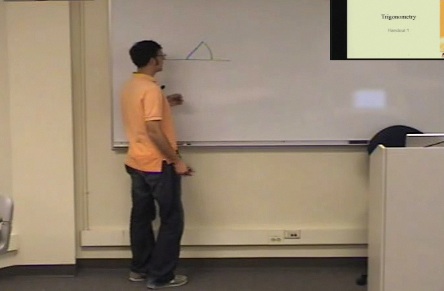 |
In this video the teacher initates a discussion about the relative lengths of the cannon (click for more details).
The teacher finds he needs to make a couple moves to ensure the class talking about angle measure. He uses his drawing and questioning to ensure that they are all focused on the same angle. The teacher attempts to keep the students involved and allow them to come up with what is needed. Only when necessary does he interject.
|
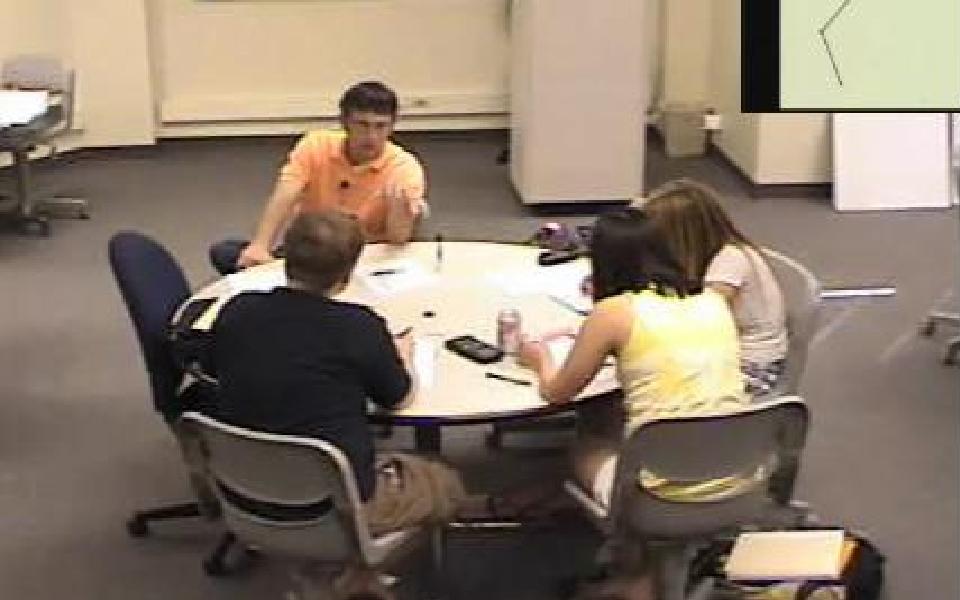 |
In this clip the stundents are struggling to create the protractor (click for more details).
The teacher is allowing for some student exploration. As they make suggestions, he probes to get at what they mean. Based on their suggestions he asks them about the "perimeter" of the circle.
The teacher is refocusing their discussion to be about circumeferences. The teacher uses questioning to focus the students back on circumference. He also reinforces the term circumference with the students.
|
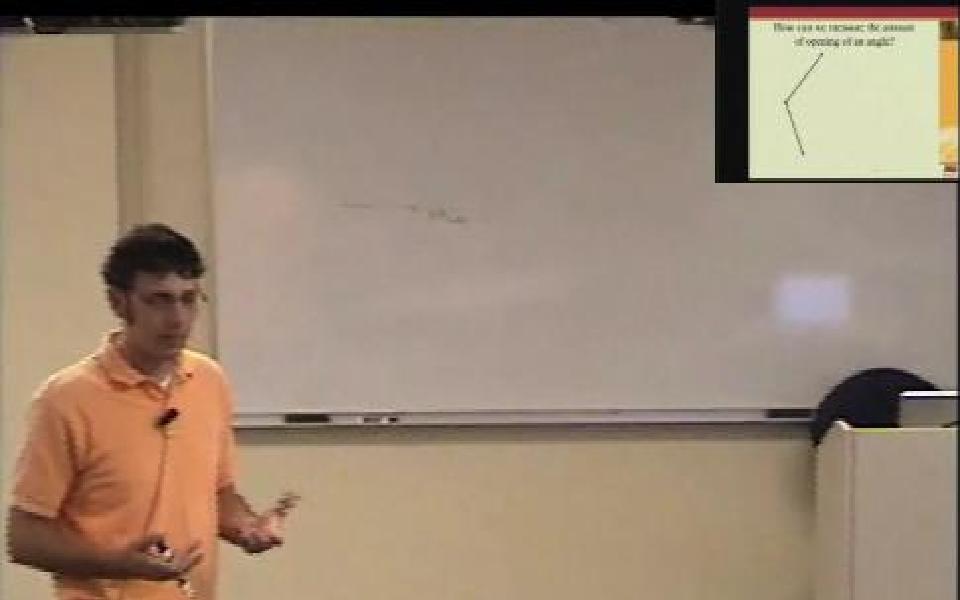 |
In this clip the teacher assists the students in creating their protractors by leading a discussion about making one for a given radius (click for more details).
This allows the students to focus on a circle of a given circumference and on the protractor being just half of that circumference.He also puts a drawing on the board that he can use for reference. The teacher is constantly pushing the relationship between arc length and angle measure.
|
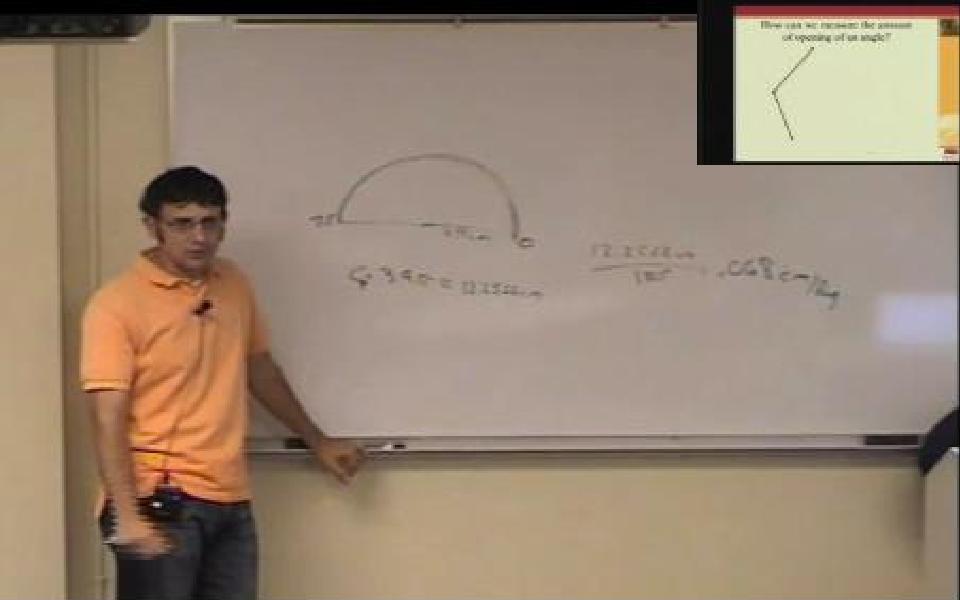 |
In this video the teacher leads a discussion on how to find quips (click for more details).
The teacher centers the discussion around circumference. This discussion leads students towards seeing the need for breaking up the circumference.
One student suggests dividing up the number of quips in a half circle by 180 degrees and the teacher follows this tangent until another student points out why this will not work. They do this by attending to the units. This will only help further the students' understanding of why they need to break up the circumference and how to do it.
|
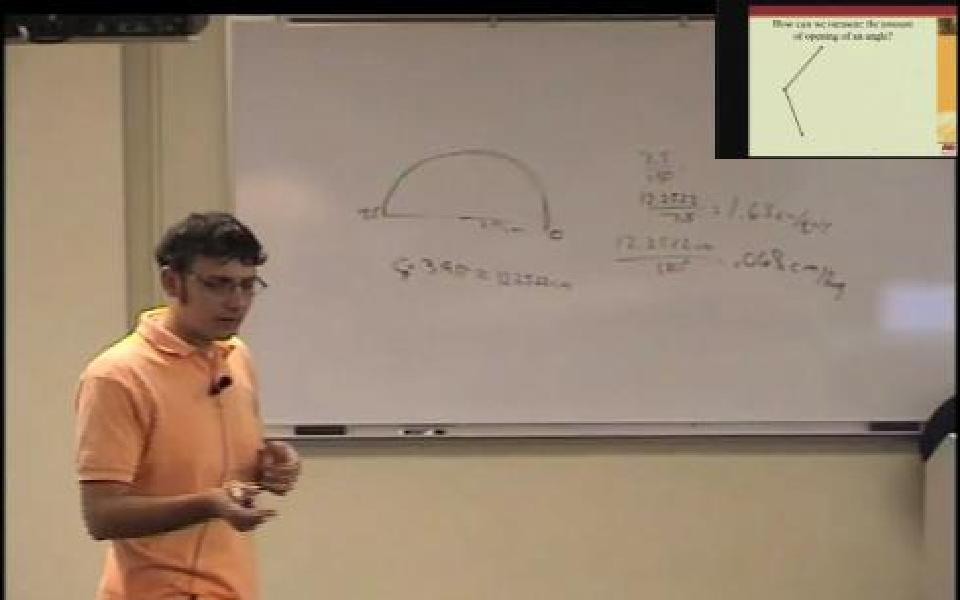 |
In this clip the discussion turns to how things would change if their circle had a different radius (click for more details).
The students are encouraged to think about how their protractors would change if their circle had a different radius. During the discussion the teacher is constantly reinforcing the relationship between angle measure and arc length. While discussing arc length, the teacher begins to talk about it as a rate. This helps connect the trigonometry material back to one of the major themes of the course, rate.
|
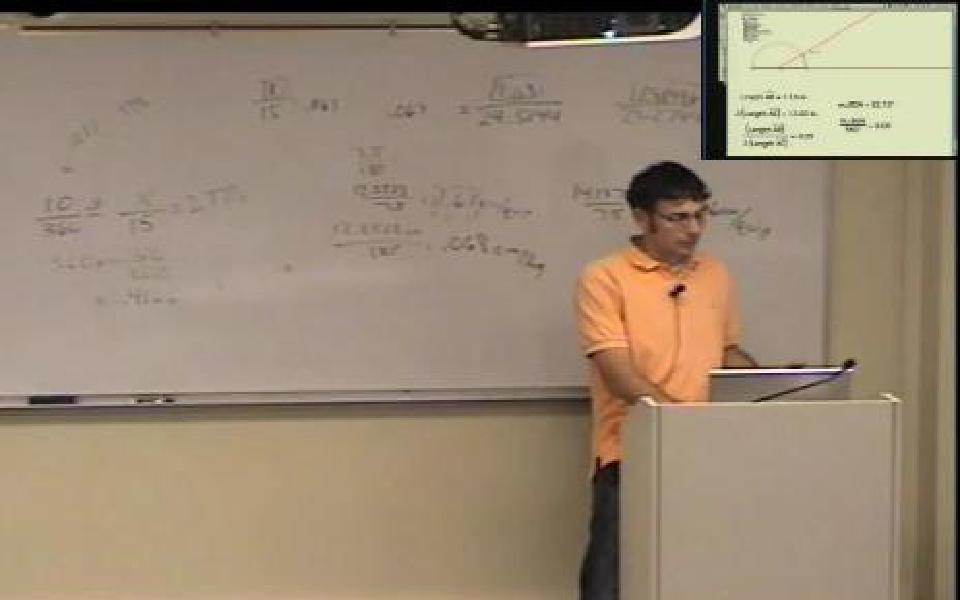 |
In this clip the teacher initates a discussion about the applet (click for more details).
The teacher uses appropriate questioning to engage students about the meaning of each part of the applet. By going through and having students identify the puprose of each component in the applet, they are giving meaning to them. Further, they are reinforcing some of the terminology they have learned to this point in the class.
|
 |
In this clip the teacher uses the mouse to move the ray (click for more details).
He uses the applet to help give the students a dynamic image of the measure of the angle increasing and decreasing. He uses questioning in order to focus students on the dynamic changes in angle measure.
Before actually moving the ray he has the students make conjectures about what they expect to happen. This is a good way to keep the students involved in their learning.
|
 |
In this clip the teacher involves the students in a discussion about what happens with the angle measure if the radius of the circle is increased (click for more details).
The teacher uses appropriate questioning to engage students about the meaning of each part of the applet.
Tthe teacher makes use of the measurements on the applet and constantly draws the students' attention to their meaning. Also, the teacher is constantly reinforcing the language the students are expected to use in the classroom.
|
 |
In this video the teacher initates a discussion about worksheet 4 (click for more details).
He uses the motion of the fly GSP applet in order to help students create the relationship between the motion of the fly and angle measure. As a group they recall the meaning of radian and go through the questions on the handout.
The teacher makes sure to reinforces that they are working with a percentage of a radius. This type of reinforcement is necessary, particularly in the beginning of this module.
|
 |
In this video the teacher uses the Motion of a Fly Applet to initate a discussion about the rate of change of the sine function (click for more details).
The teacher has students identify how the outputs of the sine function are changing in order to create the graph for the sine function. He lets the students analyze how the outputs change for equal changes of input (arc length). He also has the students attend to what happens to the change in vertical distance as he moves the applet by a set number of radians. This helps the students understand the concavity of the graph for the sine function.
|
 |
In this video the teacher uses the Motion of a Fly Applet to initate a discussion about the rate of change of the cosine function (click for more details).
He has the students attend to how cosine is changing in order to create the graph for the cosine function. He lets the students analyze how the outputs change for equal changes of input (arc length). He has the students identify what happens to the change in horizontal distance as he moves the applet by a set number of radians. As with their analysis of the sine function, the students again have the opportunity to give meaning to the graph of cosine and its concavity.
|
 |
In this video the teacher uses the Motion of a Fly GSP to discuss what happens when there is a negative change in amount (click for more details).
The teacher uses the applet so that a negative change occurs so the students have to think about how it affects the graph of the cosine function. To aid the students he has them attend to the magnitude of the change, not just the sign. The students are able to make sense of the concavity of the graph for the cosine function. Having this meaning behind the shape of the graph will help students recall what it looks like.
|
 |
In this clip the teacer conducts a discussion with the students about question 1 (click for more details).
They discuss the coordinates listed in question one and he then probes the students about their meanings. He has them discuss the meaning of the 0 coordinate and the origin. This helps the students give meaning to those locations on the unit circle. This helps him make the contrast between the distance the skier traveld (which in this case is arclength) and a point on the circle.
|
 |
In this clip the teacher initiates a discussion about finding arclength (click for more details).
The teacher centers the discussion of question 1 around finding arclength if the angle measure is known. Again, the focus of this discussion is on the relationship between the radius and arc length. Since the radius in this problem is 1, the angle measure in radians is also the distance in kilometers.
|
 |
In this clip the teacher leads a discussion about finding the point on problem 2a (click for more details).
The students suggest using sine and cosine functions. The teacher probes them as to why that will work. This will keep it from being just a procedure and help the students form a deeper understanding. To reinforce the relationship between the inputs (arc length) and the output (fraction of the radius) the teacher makes sure to have them report the units.
|
 |
|
 |
|
 |
In this clip the teacher introduces inverse trig functions (click for more details).
The teacher uses question 1 on the handout to introduce the notion of inverse trigonometric functions. The whole class discusses what is given (the output of a trig function) and what is needed (the input of a trig function). Such a discussion should help the students realize that inverse functions would be useful here.
|
 |
In this clip the teacher leads a discussion about how the problem should be approached now the radius is not 1 (click for more details).
This is the idea behind question 2 on the worksheet. The teacher asks the students what units they need to be in making the notion of a radius that is not 1 explicit. Students realize that they need to input the percentage of the radius so in order to do that the value must be divided by the radius. To help reinforce this concept, the teacher asks about what the units will be. This creates a nice discussion about what the inverse trig functions give as an output and how those outputs can be used to get arclength.
|
 |
In this clip the teacher initiates a discussion about the input for the inverse trig functions (click here for more details).
The teacher begins by having them recall what the inputs are for the trig functions and using that and their prior knowledge about inverse functions to help the students formalize what the inputs for the inverse trig functions are. This is yet another opportunity that the teacher takes to have students working in terms of radians, or percentage of the radius.
|
 |
In this clip the teacher leads a discussion about why arccos and arcsin gave different results (click for more details).
The teacher has a discussion about why the students got different arc lengths from using arcsin versus arccos. He uses this opportunity to discuss what the output is of each particular function. This is a useful way to motivate the need for reference angles.
|
 |
In this clip the teacher uses the applet to lead a discussion for the domain and range of arcsin (clck for more details).
The teacher initially uses the students understanding of trig functions to generate a discussion about the domain for inverse trig functions. The students realize the domain is -1 to 1 quickly, but he uses the applet to allow the students to make sense of the range for the inverse trig functions. He uses this range to discuss what the students should expect for an output when they use arccos. This is followed by a similar discussion for arcsin.
|
 |
In this clip the teacher leads a discussion about reference angles (click for more details).
Based on a student comment the teacher leads an investigation of quadrants and the outputs of the inverse trig function. The teacher uses the applet to lead the students through an example and uses students' comments to create a discussion. This is an opportunity to create a need for reference angles.
|
 |
In this clip the teacher is using function examples to make sense of periodicity (click for more details).
He uses the context of rate to focus on the relationship between time and the argument of sine which is in radians. This allows the students to reason about period in a familiar context. After this discussion the teacher uses a trig function, has the students create the composition of the two functions, then place their graphs up on the board so he can formalize periods.
|
 |
In this clip the teacer places the graphs on the board to facilitate a class discussion (click for more details).
After placing the graphs done in the previous video on the board, the teacher foralizes the period and begins to have the students attend to the relationship between the period and the coefficient within the argument of the sine function. This is done in the context of rate.
|
 |
In this clip the teacher leads a discussion about how the period changes when the argument of cosine is changed.
The teacher has a discussion with the students about how the period changes for the function cosine(5x). The students realize it cuts the period by 1/5th and the teacher turns the students' focus to the coefficient of 5 in the function. This type of discussion will help studnets understand how that coefficient affects the period while also reinforcing function composition.
|
 |
In this clip the teacher uses the applet to discuss period (click for more details).
The discussion is centered around the idea of repeated output. The teacher picks a location where the outputs are repeated and asks the students why it is NOT the period. He then uses the graph to demonstrate why it is not. This will help students to be careful about how they describe the period.
|
 |
In this clip the teacher moves the period bar around on the applet to generate a discussion (click for more details).
As the period bar is moved, the students discuss what is happening. They note that the bar is not changing in size and claim it is the period. They realize that the bar is 2π and they begin to describe it as a change in input. This allows the discussion to turn to what happens when the input is increased by 2π.
|
 |
In this clip the teacher is using the period bar to compare outputs (click for more details).
The teacher asks the students how outputs differ at opposite ends of the period bar. While discussing why the difference is 2π, a student question arises about what the period would be if you add another 2π. The student's question is a little unclear so the teacher probes to uncover her thinking. He then centers a discussion about period around her question.
|
 |
In this clip the teacher leads a discussion tying the period bar applet to the unit circle (click for more details).
This is an important discussion to have to ensure the students are relating the graph of the sine function back to the unit circle. In this discussion the students appear to make the connection very quickly.
|
 |
In this clip the teacher leads a discussion of what it means to have a period of 2π (click for more details).
This discussion is an example of how difficult this concept is for students. The teacher guides the the students to recognize what the argument of the trig function is versus the input (which sometimes are the same). This helps the students see this as function composition which is a topic they have seen before. By the end of the discussion they realize that the argument always varies by 2π, although there still seems to be some confusion between θ and the argument of the trig function.
|
 |
In this clip the class continues the discussion about θ versus the argument of the trig function (click for more details).
This discussion was continued from the previous clip and inspired by a student question. The teacher guides the student to see the difference between the two and how they both relate to period. The teacher again reinforces function composition.
|
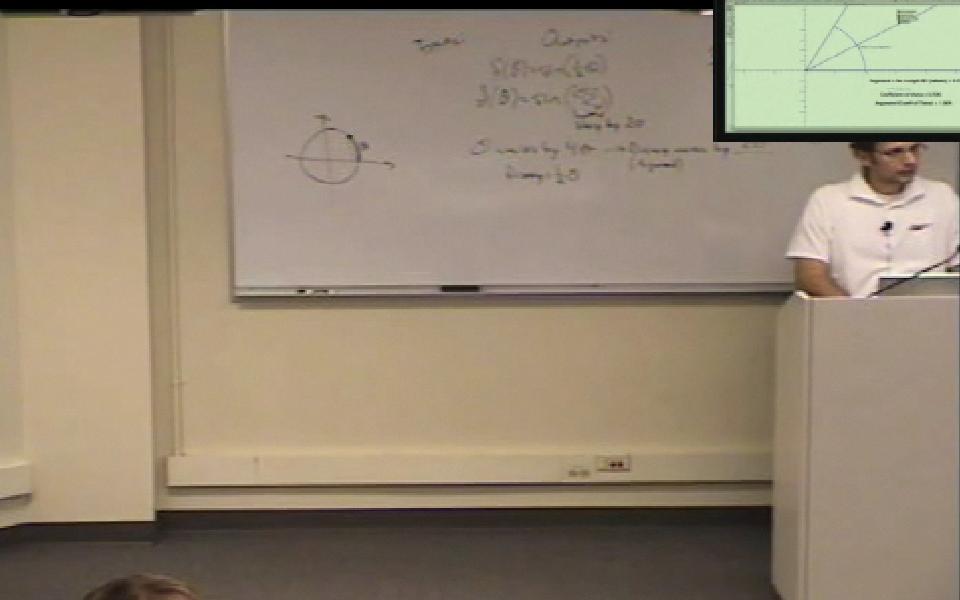 |
In this clip the teacher leads a discussion about period while using the applet to rotate two rays around a circle (click for more details).
The students have to determine how long it will take for each ray to complete one rotation. The students should begin to make conjectures regarding how long it will take the ray to complete one revolution. It may be necessary to help students relate that amount to period if students do not explicitly make that connection.
|
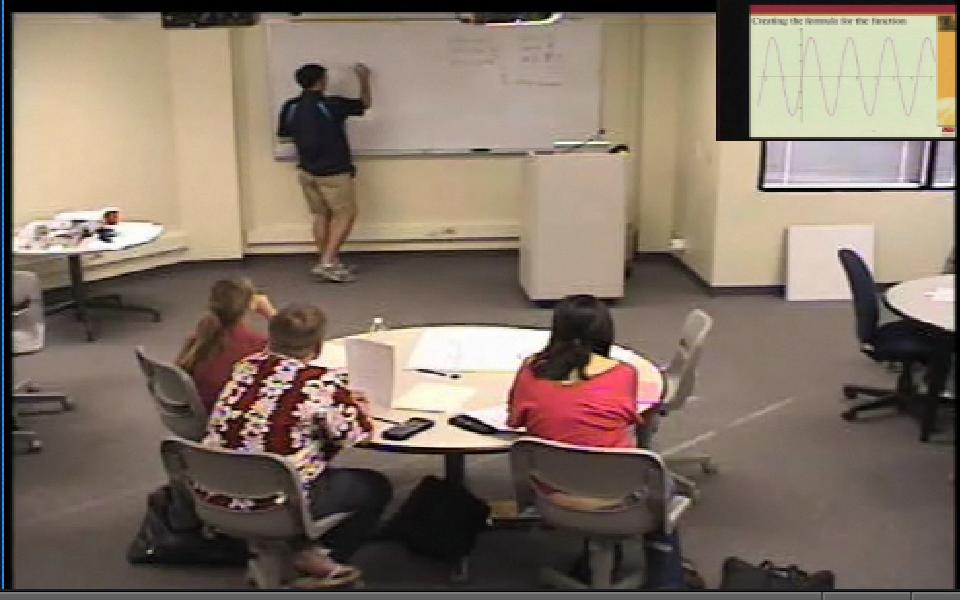 |
In this clip the class is discussion how to create the algebraic representation for a trig function with a period that is NOT 2π (click for more details).
The students are creating a function for the first graph and come up with 2.5sin(2π/3*x), which is incorrect. The students have no problem justifiying the amplitude or that it is a sine function, but their argument for the sine function is incorrect.The students realize it is the period, but the instructor must help them make the connection between the period and the argument of the sine function.
|

